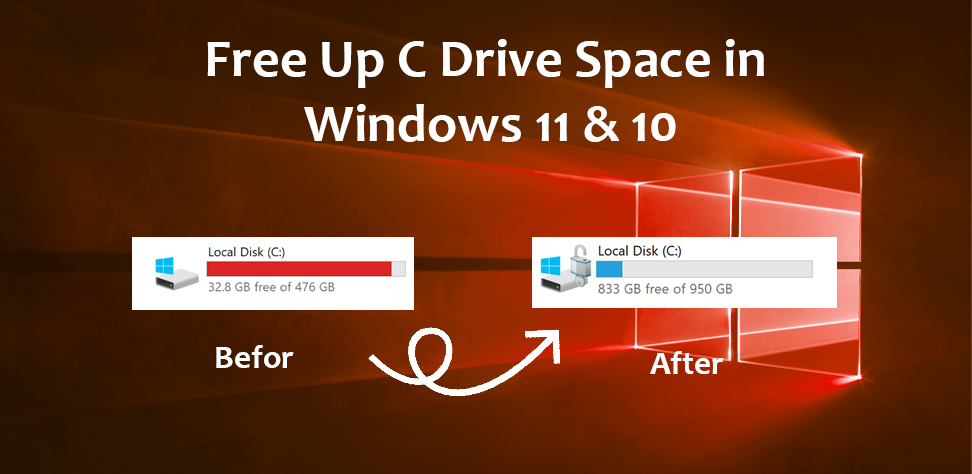
In the C drive where your operating system is found, are you running out of space? If you wish to add extra space without losing any of your data, This article will show several ways to free c drive Windows 11 or 10’s space without any formatting.
If you want your C drive to run without problems, you must know how to control sufficient storage space to prevent slow performance, regular shutdowns, and difficulties downloading programs or updating your version. Let’s discover the ways to maintain flawless operation of your system and to obtain instant clear C drive space.
Why Freeing C Drive Space Matters
Severing the space on your C drive could have multiple applications to keep computer performance and delay problems free. Let’s find the exact cause to open C drive’s capability:
- A full C drive might slow down your computer, clearing space will make your system run faster and better.
- Running out of disk space on the C drive can cause system breakdowns and data loss.
- In some cases, your program changes call for enough free up space on the C disk to install it correctly.
Ways to Free Up C Drive Space in Windows 11 & 10
There are various methods for freeing up space on the Windows 11 and Windows 10 C drives. Let’s get through these:
- You have to uninstall useless programs and remove pointless files from C Drive. However, this will not provide enough room and will sooner lead to disk space issues.
- Running the disk cleanup software can help you erase temporary data, clear the cache, empty your recycle bin, and also eliminate unneeded files which have no use.
- Furthermore, you can enhance the C Drive space by adding free disk capacity to the system partition. Windows have an established method for expanding partitions without data loss.
- You have to carry out hard drive repartitioning to reallocate disk space. It wipes the disk’s partitions entirely. Better still, have backup ready ahead.
Method 1: Free Up C Drive Space in Windows 11 or 10 – Using Disk Management
Using Windows disk management offers you the component of extended volume capacity to be able to increase the size of partitions by adding unallocated disk space; the process does not cause any data loss. This is one effective technique to manage and free up space. This article will show you practical actions to clear Windows C drive of junk.
1. Launch the disk Management Console by pressing “Windows + X” and selecting “Disk Management” from the menu.
2. Click on C drive now right once to choose the Extend Volume option.
3. On the Extend Volume Wizard interface, Click Next.
4. Click the Next button after choosing the necessary disk space for C drive.
5. Once you have finished the process, click the Finish button to be redirected to initial disk management and your C drive is effectively expanded.
Method 2: Free Up C Drive Space by Increasing System Partition – Diskpart Commands
In Windows, Diskpart is a command-line application used to stretch the system partition (C:Drive) onto unallocated space on the same drive. These are the exact instructions to raise the system partition with diskpart commands.
1. Press Windows + X then choose Windows PowerShell (Admin) option.
2. Type disk part in Windows PowerShell then press Enter.
3. Press Enter following each of the commands in sequence.
List volume.
Choose volume ( replace # with the C drive’s volume number).
Extend size= xxxxx (change xxxx with the MB disk size you wish to expand on C drive).
4. The screen will display Press Enter, “diskpart successfully extended the volume“.
Method 3:- Use Disk Cleanup to Free Up C Drive Space in Windows 10 & 11
Windows’ built-in tool, disk cleanup removes unnecessary files to assist you clear up space on your hard drive. It will eliminate your temporary files, system cache, and contents of your recycle bin—other, useless data.
1. For access to the search bar, use “Windows + S“.
2. Type “Disk cleanup,” then select disk cleanup from your search results.
3. In Prompted, choose from the dropdown menu the C: drive and click OK.
4. Click OK after selecting the file kinds that want to delete inside the disk cleanup box. If the cleanup system files are not taking up much space on your C drive, you can click the button to remove the system files.
Also Read:- Risks and Benefits of Clearing TPM When Resetting Windows
Method 4: Show Hidden Items to Boost Free Up C Drive Space
Files and folders that are hidden take up quite a bit of space on your computer’s hard drive. Being able to manage and identify these files, as well as the ability to delete unnecessary files that are no longer needed, is essential.
1. When you want to open the file explorer, you may simply press “Windows + E” or go to the control panel.
2. To get to the “View tab” at the top of the page, click on it. In the box that is located right front of “Show Hidden Files, Folders, and Drives,” click the box.
3. To figure out the number of hidden files and folders that have taken up space on the disk, navigate to the C: drive at this point.
Final Thoughts
There are four manual ways that are provided in this guide that will help you free up space on your C drive in Windows 11 and Windows 10. Hope this will help . If you have any query kindly let us know.

